Before you begin, please ensure the options for "Automatically apply credits" and "Automatically apply bill payments" are turned off in QuickBooks. These features cause issues with payments being applied to the wrong invoices once the data is in QuickBooks.
e Gear icon at the upper right of your screen.
- Choose Account and settings.
- Select Advanced from the left menu.
- Click the Pencil icon for the Automation.
- Turn off the Automatically apply for credits.
- Hit Done.
INSTALL COMMERCE SYNC IN YOUR AUTHORIZE.NET ACCOUNT
- Click here to begin
- Log into your Authorize.Net account as the Owner/Admin
- "Allow" Commerce Sync to be able to access your Authorize.Net account
Connect to QuickBooks
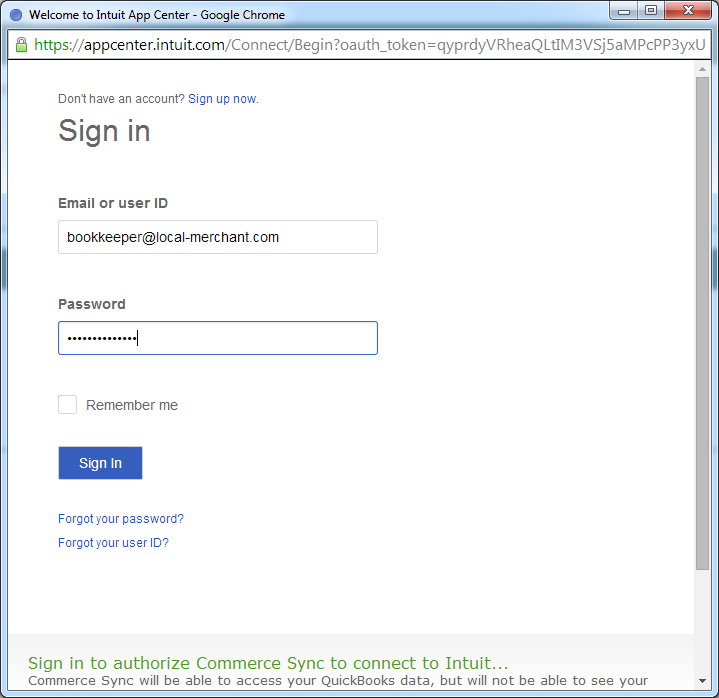
During the next few steps you will be logging in to your QuickBooks Online account. This process takes place in the Commerce Sync Dashboard. If you need assistance with your sign-in information or account selection for your QuickBooks account, please reach out to Intuit Support by calling 800-450-8475.
- Click the QuickBooks Online button
- Sign-in to your QuickBooks Online account using your QuickBooks Admin login.
(Click to Enlarge) - If you have multiple QuickBooks company files, you will be prompted to select the one you'd like Commerce Sync to connect to.
- Click the Connect button so that Commerce Sync can transfer sales information to your QuickBooks account automatically on a daily basis.
UPDATE YOUR SETTINGS
- Commerce Sync will verify your connection to QuickBooks Online. Once you see the green check marks, select your bank account and click Continue.
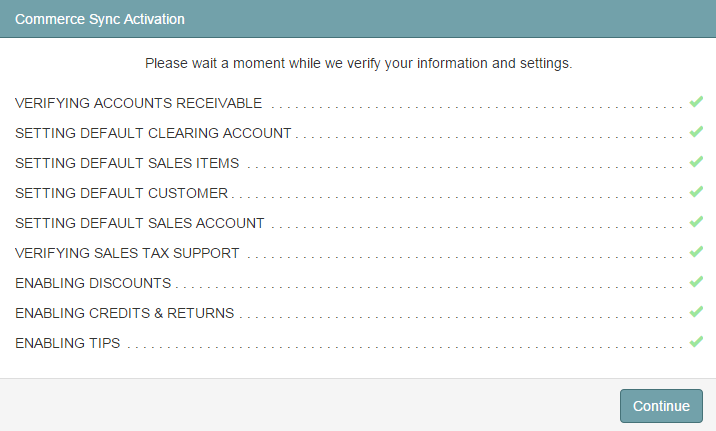
(If you see a red X, please contact the Commerce Sync Support Team for further assistance.)
- Select your transfer options:
- Please enter your billing information.
- Commerce Sync is now installed in your Authorize.Net account and now connected to your QuickBooks Online account. On the Commerce Sync Dashboard click View under Settings to review your settings. This is how Commerce Sync will transfer your sales activity into QuickBooks
YOU'RE READY! YOU'LL SEE YOUR FIRST SYNC TOMORROW!
Going forward, each day Commerce Sync will transfer all of your sales activity for the previous day to QuickBooks Online. This transfer will occur after midnight to ensure that all orders for the day are closed. Find out more information on transferring sales that you had prior to installing here.